I was looking for Bridesmaid jewellery on eBay and couldn't really find what i wanted for the girls. I did order a hair clip but it was so much smaller than what i was expecting to be. One of the girls on the vogue forums -
Rinche (here's her blog) recommended going to
Lovisa, which is a jewellery store in the Westfield shopping centres. I located one in Miranda and thought I'd take a trip up there and see what I could find as I was having no luck on eBay..
 |
| The finished box (my photo) |
And it must of been my lucky day as the Lovisa store was having a Buy two, get one three special which I was extremely grateful for. I ended up with three bracelets, three pairs of earrings and three hair slides. And basically got the three hair slides for free and the rest cost around $89.95 which was a massive score! I didn't get the girls necklaces as the dress that we have ordered doesn't allow for a necklace to be worn due to the style of the neckline.
 |
| The spoils for the girls from Lovisa (my photo) |
And now to put them in something nice. Rinche again gave me some inspiration as she decorated her Bridesmaids boxes beautifully and helped me decide what I wanted to do with the girls jewellery. See Rinche's post here for the information on how she decorated her boxes.
So I took a trip to Spotlight as I had seen some really nice boxes that they had in the Miranda store. They came in pink, blue, navy, black, gold, silver, white and purple. It was a rather hard decision to make as to what colour to pick, i was originally going to go with the girls favourite colours but then thought that might be a bit hard due to the limited colour selection. So decided to go with black boxes. And when I came home I found out that Spotlight was going to have a discount on cake boxes starting Wednesday - so typical. I paid about $6 per box.
 |
| Some of spotlight's cake box selection from their brochure (my photo) |
I then went on a search for something to lay the jewellery on. I found some polystyrene cake inserts and figured that I could cut then down to sit in the bottom of the box to make the jewellery sit higher. They cost about $6 per piece. I brought two so I could cut both of them in half and save the last half for future craft projects.
 |
| The polystyrene cake insert (my photo) |
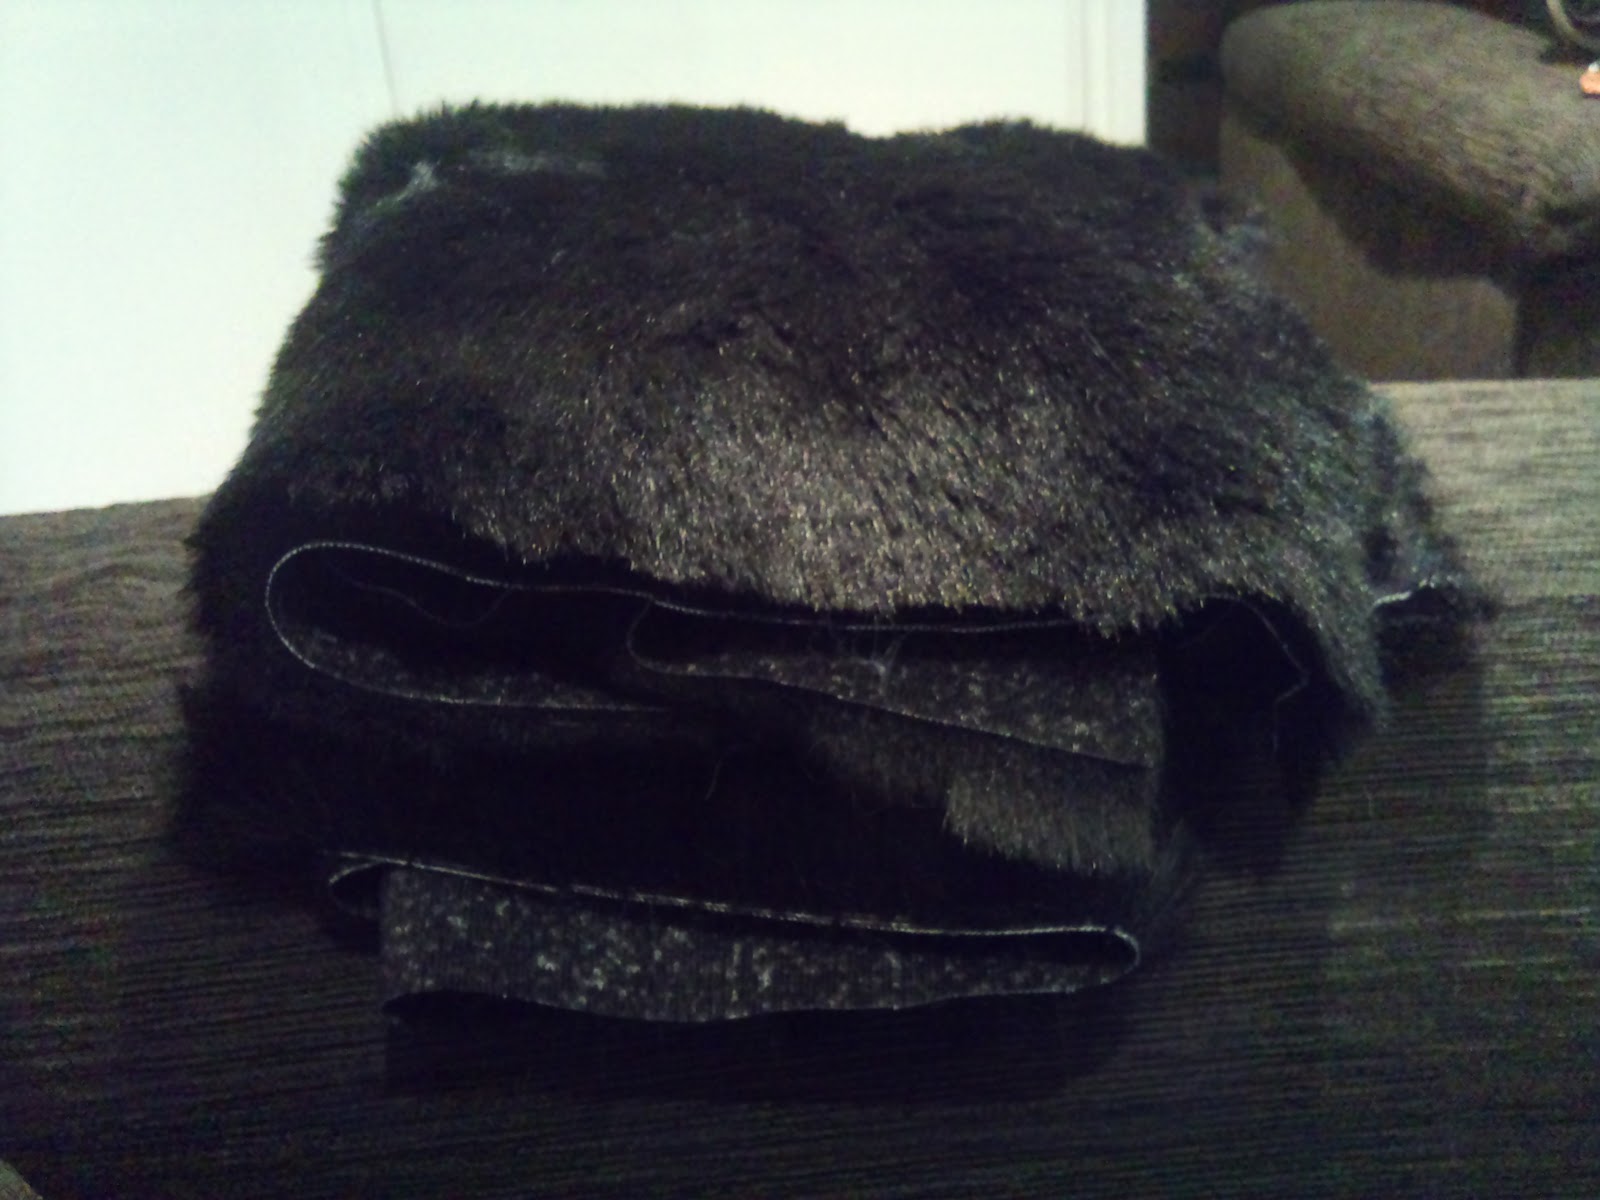
Seeing as the polystyrene is quite plain and rather ugly, I wanted something to go over it and started to explore the craft section. And came across some fantastic furs. I was originally going to go with velvet but kept being drawn back to the fur section. I found a black fake mink fur which was gorgeously soft to touch. And the best thing, it was 40% off. Score. So i got half a metre which ended up being about $23 which was great and I can use the leftovers for other things. Will do the same thing for when I find the girl's clutches. I LOVE decorating things....
 |
| Black fake mink fur (my photo) |
Since I had gotten everything that I needed to put the boxes together, I headed home and started cutting up the polystyrene. Use a sharp knife and slide it, don't force it because it tears the polystyrene and you end up with little particles of it around the place which my cat absolutely loves to eat and its really bad for her, so hence the small vacuum cleaner was on hand to tidy up the mess. When you slide the knife, it creates a smooth surface which is easier to work with. The smaller polystyrene piece is the one that I am going to use.
 |
| Polystyrene pieces (my photo) |
I then cut a piece of the fur to fit over the polystyrene and to fill in the gaps in the box. I pinned the sides of the fur to the polystyrene to hold it in place and fitted inside the box.
 |
| Piece of fur cut to size with polystyrene under it (my photo) |
 |
| Black box with polystyrene and fur on top (my photo) |
And to decorate it with my sparkly little presents for the girls. I love silver and diamante, so classy and so effective. I left the tags on the earrings and bracelets as it was easier to hold them in, rather than have them sliding everywhere. And pinned through the cardboard with dress making pins to hold them in place. With the hair slide, I slid the pins through the holes to hold it in place.
 |
| The threesome (my photo) |
So all up to create these boxes you will need:
- The box
- Polystyrene square and a sharp knife to cut it to the thickness you want
- Fabric or fur to cover the polystyrene with
- Silver dressmaking pins to hold the fabric onto the polystyrene
- Your jewellery
- Pins again to secure the jewellery to the fabric pad.
So I'm very happy with the boxes here. All the credit goes to Rinche who gave me the great idea to create them. I hope the girls like them too. Will do the same when I find some black and silver clutches to go with the dresses. Can anyone suggest a good place to buy reasonably priced clutches? I checked out Diva and Equip but they seemed rather tacky....


Oh wow... a very lux jewellery box! I'd be delighted to get one of these and so would your bridesmaids!
ReplyDeleteThank u. Im so glad they turned out
DeleteOh they look amazing! So glad I could give some inspiration to others!!!!!
ReplyDeleteYep you helped to solve that one for me so thank u again
DeleteThey look awesome- I too have thought I would still Rinche's idea hehehe.
ReplyDeleteAs for the jewellery- beautiful! I actually wore those earrings at my engagement party.
Haha yeah i kept being drawn to them and would love a pair myself. Is it cliche if i wear the same earrings as the girls i wonder?
DeleteI love that idea and the jewellery is just gorgeous! Might have to check out Lovisa when the time comes for my bridesmaids!
Delete