I've been umming and ahhing as to whether to do an Order of Ceremony. It is a great way of introducing your bridal party to your guests and letting them know what's happening on the day. I was also thinking about including a map of how to get out of the botanic gardens and along to waterfront our reception venue.
So I've been adding inspiration images to this post when I find them:
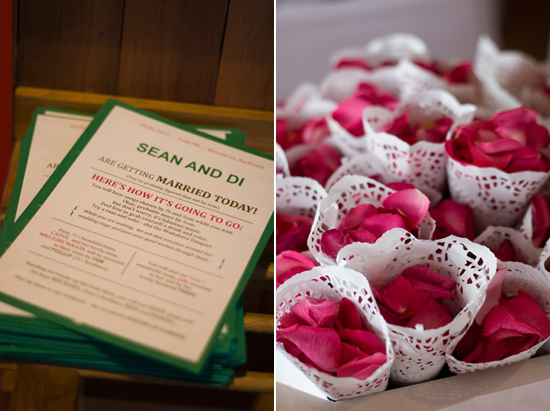 |
| Credit to Polka Dot Bride - Hot Pink and Emerald Green Wedding |
I really actually like the above program. It's given me an idea as I could get a piece of A4 black card and fold it in half, and stick 3 information pages on it. That saves me having to try to work out how to get a double sided sheet of paper in my printer haha, that still seems to evade me even with all these creative things I've achieved with this wedding so far.
So onto how I created my ceremony program. Taking inspiration from the above program, I hopped onto my trusty Microsoft Word and created my little program using the black, white and red colour's of our theme. I used the Rough Typewriter font that I love dearly and changed up the heading using bold and a red, and it all came alive. I experimented with boxes, borders, maps and arrows and just about drove myself mad trying to create maps on Google They just didn't seem to work well. Then i read some teeny tiny instructions on how to create maps for invitations. All you need to do is take a screen print of your map, open Microsoft word, paste onto your page, highlight the map and go to picture tools, and crop all the ugly bits out of your map. And ta da you have your creation. Well, actually after adding all the lovely bits of arrows, boxes and borders, you have your creation.
I then filled up my trusty printer with ink and went about printing the 40 odd programs that I had decided to make for our 70 odd people. I sliced and diced my white card and stuck the program to a red sheet backing and then headed down to Eckersley's to purchase some more metallic black card but unfortunately they were out of it, so compromised and headed down to Office works to get some plain black matt card which will hopefully look just as good.
 |
| The info sections and map for guests (my photo) |
I forgot to get a photo of the front section stuck to a red backing but you will get the idea when you see the finished product. The matt black card worked well. $10 for 50 sheets from Office works fixed my initial problem, and made it cheaper for me as well.
I folded the black card in half and sliced the side and top of the folded card to make my actual program. You can cut it to whatever size that you want it to be. I figured that just a smidgen under half a sheet of folded A4 card was suitable for my needs.
I doubled sided the white card and attached it so it was centre on the front of the program and also in the middle of the program, so all three cards have a place to sit. The hardest part would of been trying to get them all lined up. I just figured that as close as possible was best and didn't drive myself mad trying to get them perfect.
And here's the finished product. I ended up making 50 of them, as I also figured that they could double up as fans if it's a rather hot day. And that means that I'm doing away with my original paper fans, as there is just going to be too much for people to hold. Sorry for the blank spots or funnily rubbed out areas, I just wanted to give our bridal party some privacy.
 |
| The finished piles (my photo) |
 |
| The front section of the program (my photo) |
 |
| Inside of the program (my photo) |
I'm quite happy with how they turned out, and also the fact that they double up as fans and maps. It's a very easy, very effective, multi-purpose DIY program to create.


Aww these are so cute! You've done agreat job on them.
ReplyDeleteNice work, they look great :-)
ReplyDeleteThey look amazing !
ReplyDeleteThese look so good! Well done!!
ReplyDeleteThey look amazing! Well done. My mother is adamant we need to have them for our wedding - thanks for some great ideas. :)
ReplyDelete