Thursday, April 26, 2012

DIY Ribbon Wands (and Straw Flags) ... Confetti Alternative Part Two

Continuing on with the rant of not being able to have confetti at the ceremony and this mainly being rectified by blowing bubbles instead. I saw on Polka Dot Bride, a how to tutorial to make these cute little Straw Flags

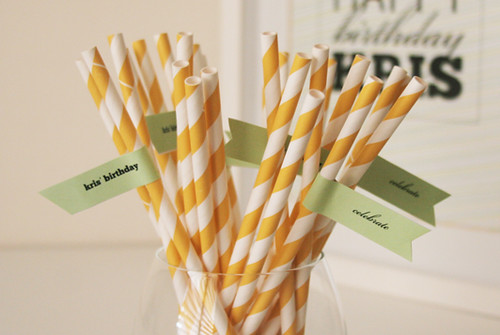
Straw Flags - Credit to Polka Dot Bride
But on purchasing my awesum black and white striped straws from a USA seller on eBay called HeyYoyo. I figured they weren't really going to work for the ceremony as they are more to use for your drinks or such. I thought I could modify them and use them as flags to wave but they didn't really work when I mocked one up. The cat loved chewing on it though, at least someone got some joy out of it, haha...

Black and White Straws from HeyYoyo (my photo)
But I do love these straws though, they have been put into my picnic box to be used on Race days or picnics :).... So I put my google searching cap on again and came up with these great DIY Ribbon Wands instead from the Besty White - Flights of Fancy Blog
Ribbon Wands - Credit to Flights of Fancy
I must admit I did try and use those straws again to create these buy sticking two straws together but when teamed with ribbon, it creates quite a busy, twisting look to the eye which kept driving me insane. So I found another seller on eBay who sold white long balloon sticks which have worked perfectly!
White Balloon Sticks from eBay (my photo)
I downloaded the template from the flights of fancy blog and found that they were too small for the length of the white sticks. So FH designed some bigger ones for me in photo shop as I hate creating things with lines (pet hate of mine cause I can never line them up properly) and emailed them back to me. I just added the words and we have the flag part of the ribbon wand. Yay!


Photo shop created flags (my photo)
Trimmed down flags (my photo)
And now onto the attaching the ribbon part onto the white balloon stick. This required cutting the ribbon into different lengths once I'd chosen the colours that I wanted to use. 
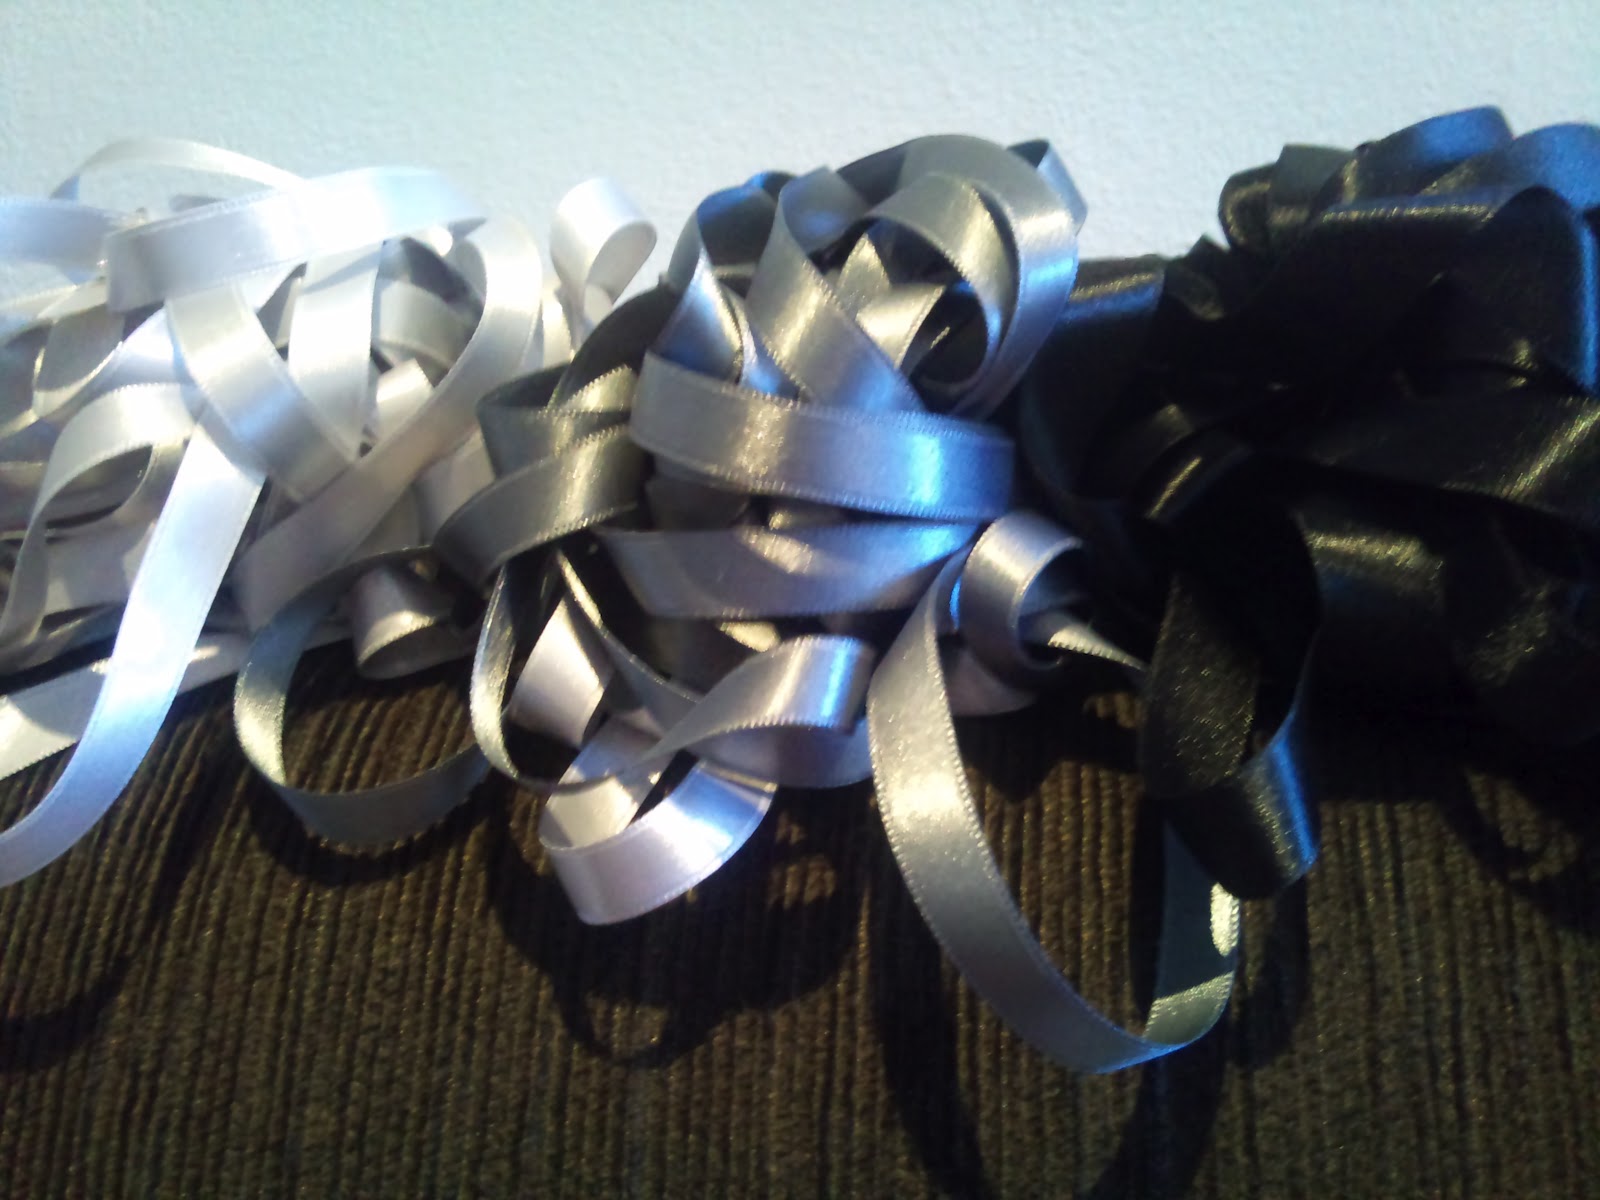
My chosen ribbon colours (my photo)

The lengths of ribbon (my photo)
Then wrap the ribbon around the wand, with the appropriate distance away from each ribbon strand. Apply double sided tape to the part of ribbon which will touch the wand, this will secure it to the wand and then finish attaching the ribbon to itself with a blob of hot glue from your hot glue gun as shown below.

Double sided tape secures ribbon to wand and then finish it off nicely with some hot glue (my photo)

Apply double sided tape to the back to the flag part as shown below... Bit hard to see in the photo, but I used two strips as my tape was too small for the width of the flag.

Back of the flag with double sided tape insitu (my photo)
Then find the  middle point of the flag and start to wrap it around the balloon stick making sure that the ends meet and are not uneven. Make sure the flag is a decent distance from the ribbons otherwise the ribbons will get tangled in the flag and will not perform very well when you go to wave the ribbon wand. 


Make sure the flag ends are even before sticking both sides together (my photo)
Then your flag should be finished. Multiply this by how many flags that you want to make and ta da you have a cheap confetti alternative. See the photos below for how mine have turned out now that I've finished them..


I'm going to put them in a large jar bigger than the green glass to display at the ceremony on the table with all my other little knick knacks and timber wine boxes. I'm going to purchase some medium sized photo frames and put messages inside them for what the items are to be used for. So that's the ribbon wands ticked off my list, hope it's easy for you to follow if you want to make them yourselves....

2 comments:

  1. Oh Gorgeous! The Grey satin is such a luxe colour. I loved the ribbons wand idea too as an alternative for no confetti, but I loved the bubbles that turned out in our pics. You have both. I can't wait to see the pictures!

    ReplyDelete
    Replies
    1. Thank you. I wasn't sure whether to make them or not. But if people want to use them, they are there if they do. :) I love the bubbles too and are looking to purchase a bubble machiene :)

      Delete