I have been slowly putting the finishing touches to the boxes which my creations are going to be displayed in and this post is about the jandals which I have supplied for those guests with sore feet.
My inspirations:
And now onto what I've created. Nothing fancy compared to the beauties above but just perfect for what we have in mind. Actually I haven't even worked out where we are going to put it yet either haha.
1. Choose your container: You can use steel buckets, wicker baskets, wooden boxes, whatever your mind conjures up you can pretty much use as your container. I used a wooden wine box which I purchased off eBay.
 |
| Wooden wine box (my photo) |
2. Decide how you are going to decorate the outside of your box: I followed the theme of my wishing well and parasol box and used the thick ribbon and white card with black backing with writing in the Rough Type writer font.
 |
| Front of the wine box (my photo) |
 |
| Thick Black Ribbon glue gunned in a bow to front of box (my photo) |
 |
| Finished front with funky caption - Jandals for those tired feet (my photo) |
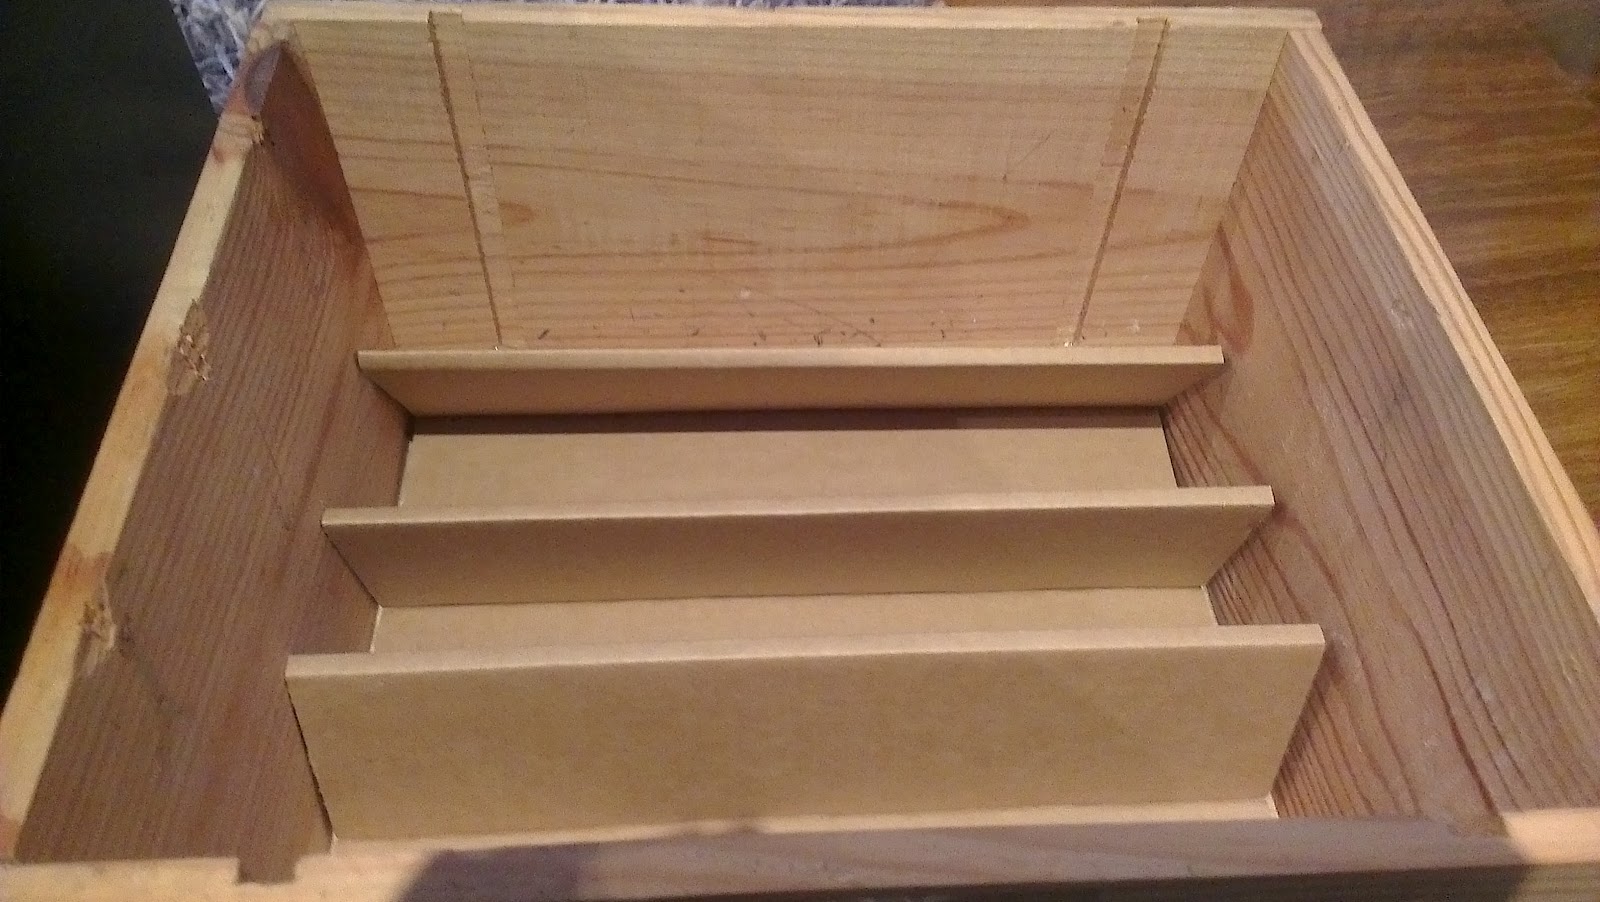
3. Decide how you are going to put your items in the box: When I brought the boxes, they had some cardboard left in them which was used to house the wine. I glued the cardboard to the inside of the box so I could layer the jandals inside it. I then put some shreds inside it to line it.
 |
| The cardboard separator (my photo) |
 |
| Bag of shreds from Basketwares in Kirrawee (my photo) |
 |
| Cardboard separator and shreds (my photo) |
4. Display your items: I worked from the back forwards, lining the jandals up in size and attempting to face them the same way and alternate the colours. My jandals were $1 each from Big W so I wasn't able to get them all the same due to the price of them and the small amount left.
 |
| Big W Jandal with tag attached (my photo) |
 |
| Halfway through the displaying (my photo) |
And the finished item. I'm rather impressed with the outcome, as at first I didn't think it was going to turn out but I've had a few comments from friends when they came round for dinner and they loved the idea. So I'm pretty stoked with it. See below for the finished photos ...
 |
| Finished box - front on (my photo) |
 |
| Top view (my photo) |
 |
| Side view (my photo) |
 |
| Close up top view (my photo) |


awesome work. Your DIY projects are always awesome. Jandals... Sounds better than thong box I think
ReplyDeleteHaha yeah, being a kiwi I call them jandals but was like do I put thongs, flip flops or jandals. I figured most people would know what they are haha
Deleteanother great DIY idea. Your guests are going to be spoilt!
ReplyDeletethank you.
DeleteI was thinking the same as Peony - soo many boxes of goodies = spoilt guests!!
ReplyDeleteHaha yeah, I just want them to be comfortable, and who knows I might end up grabbing a pair of them myself towards the end of the night, haha
DeleteOh awesome, what a fantastic idea! Looks great too :)
ReplyDeleteI'm sure your guests will massively appreciate it.
Thank you, I hope they do...
Delete